







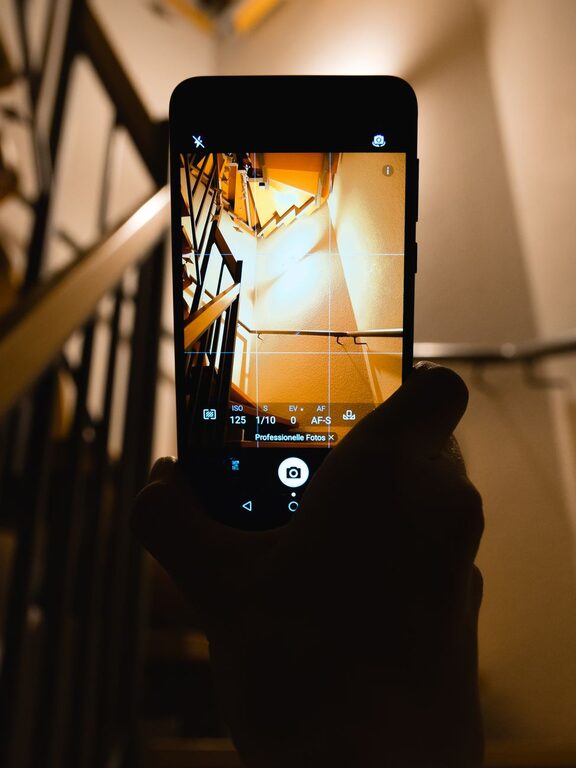
Taking better phone photos does not require expensive equipment or advanced skills. Your smartphone already has a capable camera, and a few simple habits can make a noticeable difference. By paying attention to light, composition, focus, and timing, you can create photos that look clearer, more balanced, and more interesting.
Start with a Clean Camera Lens
One of the easiest ways to improve your photos is to clean your phone’s camera lens before taking pictures. Fingerprints, dust, and smudges can make images look hazy or soft, especially when light is coming from behind your subject.
Use a soft, clean cloth to gently wipe the lens. Avoid rough materials that could scratch the glass. Make this a quick habit whenever you take your phone out for photography.
Use Natural Light Whenever Possible
Light has a major effect on the quality and mood of a photo. When you are indoors, try moving closer to a window. Soft daylight can make people, food, and objects look more natural than harsh overhead lighting.
When taking photos outside:
– Use morning or late afternoon light for softer, warmer results.
– Avoid strong midday sunlight when possible.
– Watch for deep shadows across faces or important details.
– Turn your subject slightly toward the light.
– Use shade for more even lighting.
If the light is too strong, look for an area under a tree, near a building, or beneath a covered space. Open shade can create a flattering, balanced look.
Be Careful with Backlighting
Backlighting happens when the brightest light is behind your subject. This can create a dramatic silhouette, but it may also leave the main subject too dark. If you want to show details, change your position or ask your subject to face the light.
You can also tap the screen on the subject to help your phone adjust the exposure. If the image still looks too bright or dark, use the exposure control that appears near the focus area.
Keep Your Photos Straight
A tilted horizon can make an otherwise good photo feel unbalanced. This is especially noticeable in pictures of beaches, buildings, tables, and landscapes.
Most phone camera apps include a grid option. Turn it on in your camera settings to help align horizons and vertical lines. The grid can also guide you when placing your subject within the frame.
Before pressing the shutter, quickly check:
– Is the horizon level?
– Are buildings or poles leaning unexpectedly?
– Is there too much empty space?
– Are important parts of the subject cut off?
You can correct some problems with editing, but taking a careful photo from the start usually gives a better result.
Try the Rule of Thirds
The rule of thirds is a simple composition technique. Imagine your screen divided into nine equal sections by two horizontal and two vertical lines. Place the main subject near one of the lines or where two lines meet.
For example, you might place a person slightly to one side instead of directly in the center. In a landscape, try placing the horizon along the upper or lower line rather than cutting the image in half.
The rule of thirds is not a strict requirement. Centered photos can also be powerful, especially when the subject is symmetrical. Use this technique as a starting point, then experiment with different arrangements.
Focus on One Main Subject
Photos are often stronger when they have a clear point of interest. Before taking the picture, decide what you want viewers to notice first.
A main subject could be:
– A person’s expression
– A colorful flower
– A meal or dessert
– An interesting building
– A pet at play
– A pattern or small detail
Remove distractions by changing your position, moving closer, or choosing a simpler background. If the background is busy, your subject may get lost in the image.
Tap to Focus
Tap the screen where you want the camera to focus. This is especially helpful for close-up photos or scenes with several objects at different distances.
After tapping, check that the subject looks sharp. If your phone allows it, press and hold the focus area to lock focus while you adjust the composition.
Move Closer Instead of Relying on Zoom
Digital zoom can make photos look blurry or grainy. When it is safe and practical, move closer to your subject instead. This helps preserve detail and creates a clearer image.
If you cannot move closer, use the phone’s standard camera view and crop the image later. Some phones have optical or high-quality telephoto lenses, but it is still useful to test different zoom settings and compare the results.
Avoid getting so close that the camera cannot focus. For small subjects, move back slightly and use the close-up or macro mode if your phone includes one.
Hold Your Phone Steady
Small movements can soften a photo, especially indoors or in low light. Hold your phone with both hands and keep your elbows close to your body. You can also lean against a wall, table, or other stable surface.
When photographing a person, landscape, or object, take several pictures. A small change in expression, movement, or focus can make one image much better than the others.
For sharper results:
– Pause briefly before pressing the shutter.
– Avoid moving immediately after taking the photo.
– Use the volume button as a shutter if it feels more comfortable.
– Rest your phone on a stable surface for night scenes.
Experiment with Different Angles
Changing your viewpoint can make a familiar subject look more interesting. Try taking a photo from above, below, or from the side. For food, a top-down angle may work well. For buildings, standing farther away and aiming upward can emphasize height.
You can also lower your phone to capture a child, pet, or small object from its level. A photo often feels more engaging when it shows the subject from a natural or unexpected perspective.
Take a few test shots from different positions. Small changes in angle can affect the background, light, and overall balance.
Use Portrait Mode Carefully
Portrait mode can blur the background and draw attention to a person or object. It works best when the subject is clearly separated from the background and there is enough light.
However, the effect can sometimes create uneven edges around hair, hands, or small objects. Check the result before moving on. If the blur looks unnatural, take another photo in the standard camera mode.
Portrait mode is not only for people. You can try it with flowers, pets, food, and other subjects, but keep the effect subtle when possible.
Avoid Overediting
Editing can improve a photo, but too much editing may make it look unnatural. Start with small adjustments to brightness, contrast, color, and cropping.
A simple editing process might include:
- Straighten the image if needed.
- Crop out distracting edges.
- Adjust brightness slightly.
- Improve contrast if the photo looks flat.
- Add a small amount of color or warmth.
- Reduce the effect if the image begins to look artificial.
Save the original photo before making major changes. This lets you try different styles without losing the starting image.
Practice with a Simple Challenge
The best way to improve is to take photos regularly. Choose one subject and photograph it in several ways. For example, take pictures of a cup, plant, or chair using different angles, backgrounds, and lighting conditions.
Review the images afterward and ask:
– Which photo is easiest to understand?
– Where does your eye go first?
– Is the subject sharp?
– Does the lighting help the image?
– What could you remove or change?
With practice, you will begin to notice patterns in the photos you like most. Clean lenses, good light, steady hands, and thoughtful composition can turn everyday moments into stronger images—using nothing more than the phone you already carry.